
Getting started
Paddock is a single process per data root + port. The fastest way to try it is
npx — nothing to install, nothing to clone. For an always-on instance on a server,
use the published Docker image; to hack on Paddock itself, run it from source.
Try it with npx
Section titled “Try it with npx”If you have Node 22+, one command gets you a running instance:
npx @edspencer/paddock -oThat is the whole thing. It starts the server on http://127.0.0.1:7233, keeps its
data in ~/.paddock, and -o opens a browser at it. It does not matter which
directory you run it from.
Discover: start from the history you already have
Section titled “Discover: start from the history you already have”A brand-new instance is empty, and an empty instance opens on Discover instead of
an empty project list. Discover reads your Claude Code history, works out which
directories on this machine you have actually been using claude in, and offers
them as projects:
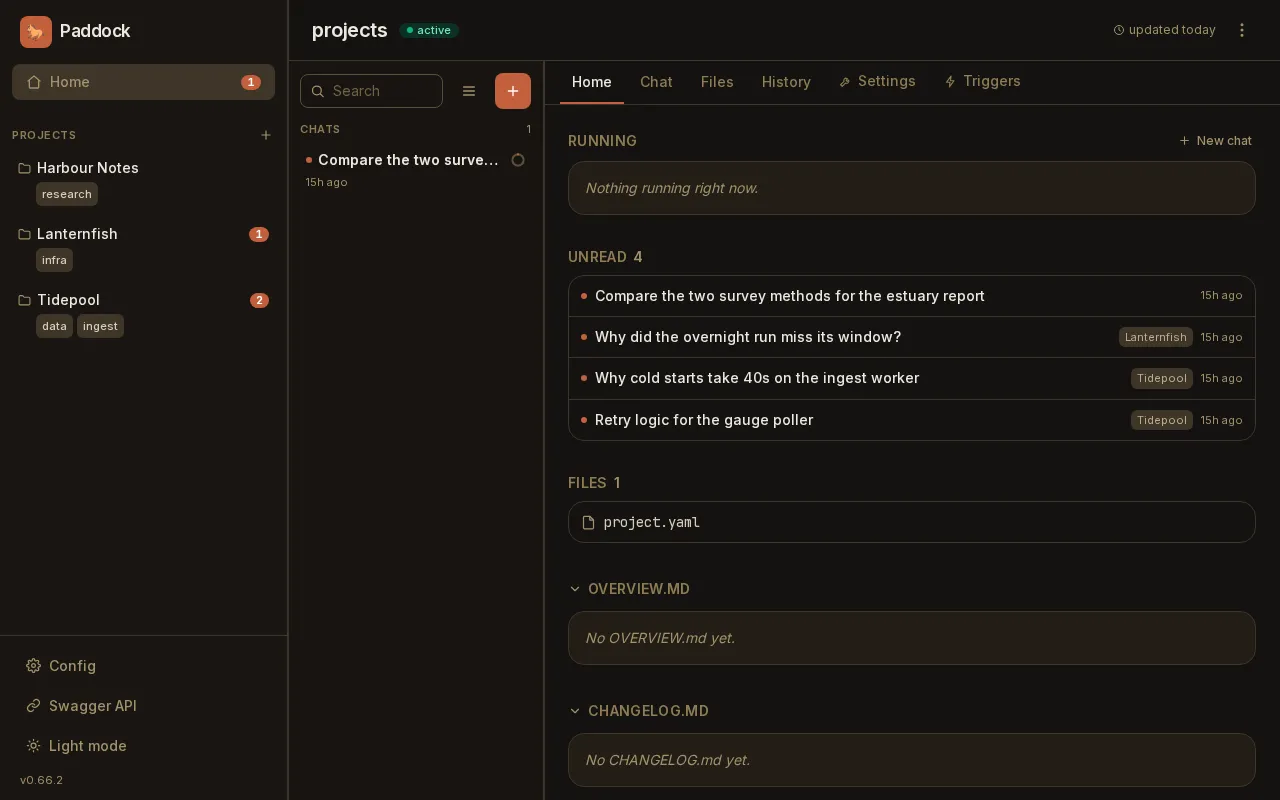
Each row is one directory, with its conversation count, when you last worked there, and its git remote. Tick the ones you want and press Import. Expand a row first if you would rather pick individual conversations than take the lot — the tickbox goes three-state once you do.
Every row becomes a project pointing at that directory, and its conversations are copied in as chats you can resume. So instead of an empty instance you are looking at your own work, on the projects you actually have.
You can reach it again at any time from Discover in the sidebar — it is not only a first-run screen.
Two things Discover deliberately does not show you, both adjustable underneath the list once they have something to hide:
- Directories with no git repository. Hidden by default — a directory you ran
claudein once is not necessarily a project. - Directories outside your home. Hidden by default.
It also always skips temp directories, system paths, Paddock’s own internals, your home directory itself, and anything that is already a project. The line above the toggles tells you how many went each way, so “why 5 and not 12?” has an answer on screen.
First run downloads ~250 MB. Paddock drives Claude Code, and the Claude Agent SDK
ships a per-platform binary of that size. Later runs reuse the npm cache and start
immediately. If you expect to use it often, npm i -g @edspencer/paddock is friendlier
than bare npx.
Useful flags:
-p, --port <port> HTTP/WS port (default 7233, or $PORT) --host <host> Bind address (default 127.0.0.1) -d, --data-dir <path> Projects + state (default ~/.paddock, or $PADDOCK_DATA_DIR) -o, --open Open the app in your browser once it is listening --verbose Show the server's own logs (quiet by default) -v, --version Print the Paddock version and exit -h, --help Show this help--data-dir is the only thing that picks which instance you get; the directory
you happen to be standing in has no effect. --verbose is worth one run on a new instance: several of Paddock’s startup
notices — which login it found, what it bridged from ~/.claude, what it
withheld — are written at info, which the quiet default filters out. The one
notice you get either way is the warning that names your ~/.claude instruction
files when they are not being loaded.
Credentials work the same as everywhere else — see Claude authentication below.
An npx run binds loopback with authentication disabled, which is the right default for a laptop, and it fails closed: bind a routable address without configuring auth and it refuses to start. See Binding & network exposure.
Run with Docker
Section titled “Run with Docker”For an always-on instance on a server, the published image is the simplest route. Point it at a data volume and give it a Claude token:
docker run -d --name paddock -p 127.0.0.1:7233:7233 \ -e CLAUDE_CODE_OAUTH_TOKEN=… `# Max plan auth (or ANTHROPIC_API_KEY)` \ -e PADDOCK_DATA_DIR=/data \ -e PADDOCK_DANGEROUSLY_ALLOW_OPEN=1 `# required in a container — see below` \ -v paddock-data:/data \ ghcr.io/edspencer/paddock:latestThen open http://localhost:7233 and click New Project.
Two image flavors: base vs devbox
Section titled “Two image flavors: base vs devbox”Paddock publishes two official images from the same source — pick the tag that matches what your agents do:
ghcr.io/edspencer/paddock:latest— the base image (used above). The lean runtime: the Paddock app plusgit,openssh-client,gh, and theclaudeCLI. Everything a stock instance needs to read, write, and reason over code.ghcr.io/edspencer/paddock:devbox— the devbox image. Base plus the coding-agent toolbox:pm/PM2 preview servers,ffmpeg, a headless Playwright MCP browser, the Docker CLI (with thebuildxandcomposeplugins),kubectl, and a scripting kit (python3,uv,jq,rsync). Reach for it when Claude needs to build and run apps, not just edit them.
The devbox only adds tools — same app, same /data layout — so you can swap tags
against the same volume. It’s a much bigger image (the Chromium layer alone is ~1 GB),
so stay on base unless you need those tools.
The Dev Box flavor is the canonical breakdown of what each
image carries, and why each tool is in the image it’s in.
docker-compose
Section titled “docker-compose”services: paddock: image: ghcr.io/edspencer/paddock:latest ports: # Loopback only. Do NOT use "7233:7233" without an auth mode in front. - "127.0.0.1:7233:7233" environment: CLAUDE_CODE_OAUTH_TOKEN: ${CLAUDE_CODE_OAUTH_TOKEN} # or ANTHROPIC_API_KEY for API pricing PADDOCK_DATA_DIR: /data # Required in a container — see the caution above. PADDOCK_DANGEROUSLY_ALLOW_OPEN: "1" volumes: - paddock-data:/datavolumes: paddock-data:Claude authentication
Section titled “Claude authentication”Paddock passes your Claude credentials through to the agents. Provide one:
CLAUDE_CODE_OAUTH_TOKEN— Claude Max plan auth.ANTHROPIC_API_KEY— API-pricing auth.
Either works on either runtime — the choice of credential is independent of how a turn is driven.
The token is passed through the process environment; it is never written to disk by Paddock.
Or provide neither. If this machine already has a Claude Code login, Paddock uses
it: the macOS Keychain entry on a Mac, your ~/.claude/.credentials.json elsewhere.
That is claude.credentials: host, the default, and it is the one thing Paddock shares
by default — because reading a login writes nothing. Set claude: { credentials: own }
in the config file
to turn it off.
That login is the only thing shared by default. Your ~/.claude/CLAUDE.md, agents/,
commands/ and plugins/ are not loaded, and the hooks your settings.json binds to
tool use do not run — claude.instructions and claude.hooks turn each on, and both
default to own. If you have a curated ~/.claude/CLAUDE.md, that is the one to know
about: Paddock warns at startup, naming the key, when it finds files it is not
loading — including on a plain npx run.
Run from source
Section titled “Run from source”You need Node 22+. Chats resolve the Claude Agent SDK’s own bundled binary and never
consult PATH, so they work without anything else installed. The claude CLI on
your PATH is needed by the post-turn sweeper — the one turn Paddock always runs
through the CLI — and by any turn resolved to driveMode: batch.
A trigger is not automatically a CLI turn: it resolves its drive mode exactly the way
a chat does (project override, else the instance default), so on the built-in default
session a scheduled or event trigger goes through the SDK runtime and never consults
PATH. It needs claude installed only when its project — or the whole instance — is
pinned to batch.
git clone https://github.com/edspencer/paddock.gitcd paddocknpm installProduction-like (one process serves API + WS + SPA)
Section titled “Production-like (one process serves API + WS + SPA)”This is how the deployed service runs — the server serves the built SPA and exposes
/api + /ws on the same origin.
# Load your Claude token into the environment (never echo it).export CLAUDE_CODE_OAUTH_TOKEN=…
npm run build                 # build web dist + server distexport PADDOCK_DATA_DIR="$(mktemp -d /tmp/paddock-dev.XXXXXX)"   # optional throwaway data dirnpm run start                 # node packages/server/dist/index.js
Open http://localhost:7233/. Quick checks:
curl -s http://localhost:7233/api/health # {"ok":true}curl -s http://localhost:7233/api/projects # {"projects":[...]}Hot-reload dev (two processes)
Section titled “Hot-reload dev (two processes)”For frontend iteration — Vite serves the SPA on :5173 and proxies /api + /ws
to the backend on :7233:
npm run dev # terminal 1 — backend (watched) on :7233npm run dev:web # terminal 2 — Vite SPA on :5173See the repo’s DEV.md for the full local-development guide.
Next steps
Section titled “Next steps”- Concepts — how projects, agents, chats, and the sweeper fit together.
- Environment variables — the complete
PADDOCK_*reference. - Architecture — what’s happening under the hood.